Table of Contents
ToggleIf you’re as passionate about customizing your bike as I am, you know that every detail counts. One crucial component that often gets overlooked is the battery box.
Today, I want to walk you through everything you need to know about choosing and installing the perfect cafe racer battery box. Whether you’re looking for a custom cafe racer battery box or just need some tips on installation, this guide has got you covered.
Understanding Cafe Racer Battery Boxes
What is a Cafe Racer Battery Box?
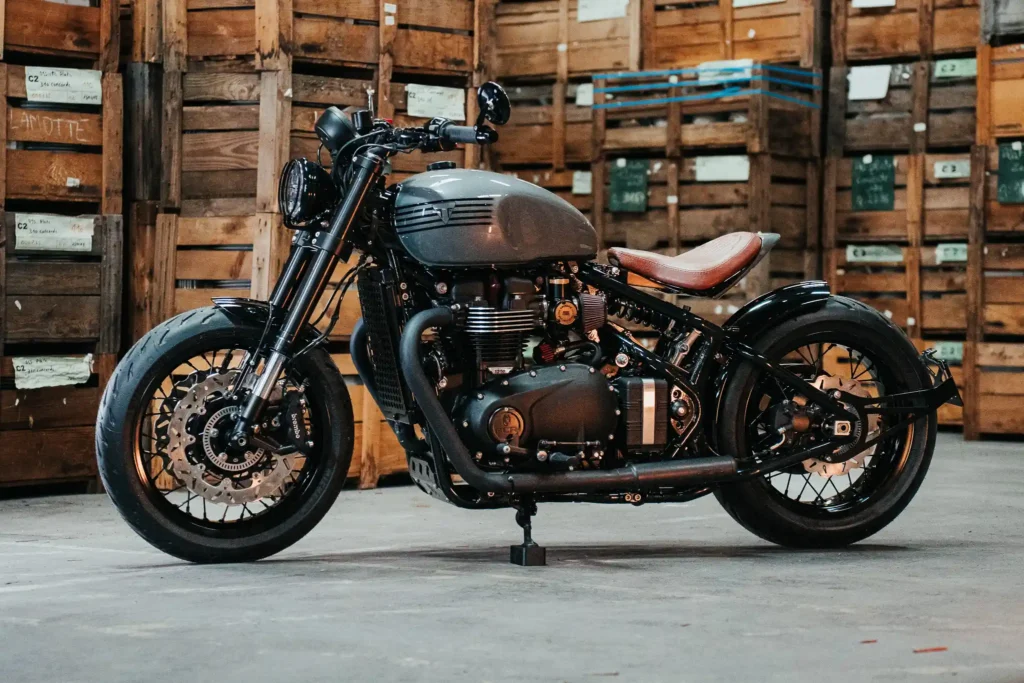
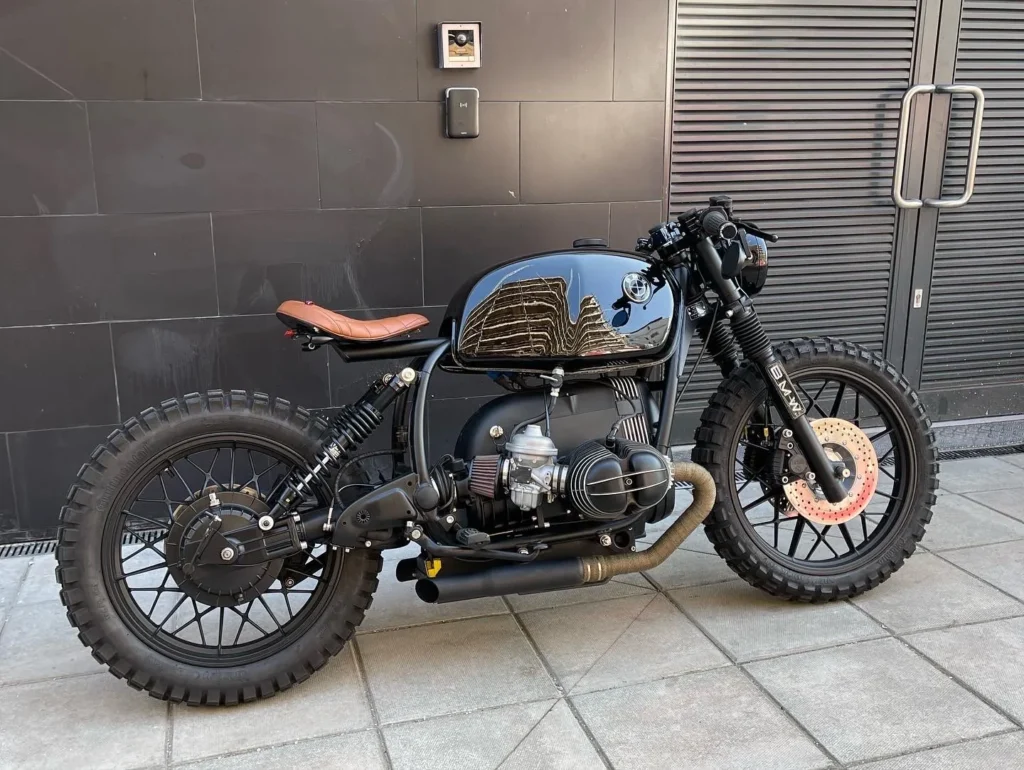
So, what exactly is a cafe racer battery box? Simply put, it’s a protective casing that houses your motorcycle’s battery. This box not only secures the battery but also enhances the overall look of your bike. A well-chosen battery box can make a significant difference in both functionality and aesthetics.
I remember when I first started customizing my cafe racer. I had a vague idea of what a battery box was, but I didn’t realize just how important it was until I ran into some issues with battery placement and wiring. That’s when I understood that a good battery box is crucial for both protecting the battery and making the bike look clean and polished.
Types of Battery Boxes
When it comes to cafe racer battery boxes, there are several options to consider:
Traditional Designs:
These are the classic metal boxes that have been used for decades. They are sturdy and provide excellent protection. My first battery box was a traditional metal one, and while it was heavy, it did its job perfectly.

Modern Designs:
These often feature sleek, minimalist designs and can be made from a variety of materials, including plastic and fiberglass. Modern designs tend to be lighter and more aesthetically pleasing. Recently, I switched to a modern design made of fiberglass, and it significantly reduced the weight without compromising on durability.

Importance of a Good Battery Box
Why is a good battery box so important? Here are a few reasons:
Protection:
A quality battery box protects your battery from dirt, debris, and moisture, extending its lifespan. I learned this the hard way when my bike’s battery got damaged due to exposure to the elements.
Aesthetics:
A well-designed battery box enhances the look of your cafe racer, giving it a cleaner, more polished appearance. A friend once told me that my bike looked unfinished without a proper battery box, and he was right.
Weight Distribution:
The right battery box can help with weight distribution, improving your bike’s performance and handling. After switching to a lighter box, I noticed a marked improvement in my bike’s balance.
Choosing the Right Battery Box
Factors to Consider
Choosing the right cafe racer battery box involves several considerations:
Compatibility:
Make sure the battery box is compatible with your bike model. Check the dimensions and mounting points to ensure a perfect fit. I once bought a box that was too big, and it was a nightmare trying to make it work.
Size and Dimensions:
The box should be the right size for your battery. Too small, and it won’t fit; too large, and it will rattle around. Measure your battery and the space available on your bike before making a purchase.
Material Durability:
Choose a material that offers the right balance between durability and weight. Metal is durable but heavy, while plastic and fiberglass are lighter but may not be as tough. My fiberglass box has held up well so far, but I make sure to inspect it regularly.
Aesthetic Appeal:
The battery box should complement the overall look of your cafe racer. Choose a design that matches your bike’s style. I love the sleek, minimalist look of my current box—it fits my bike’s aesthetic perfectly.
Popular Brands and Models
There are several reputable brands that offer high-quality cafe racer battery boxes. Some of my favorites include:
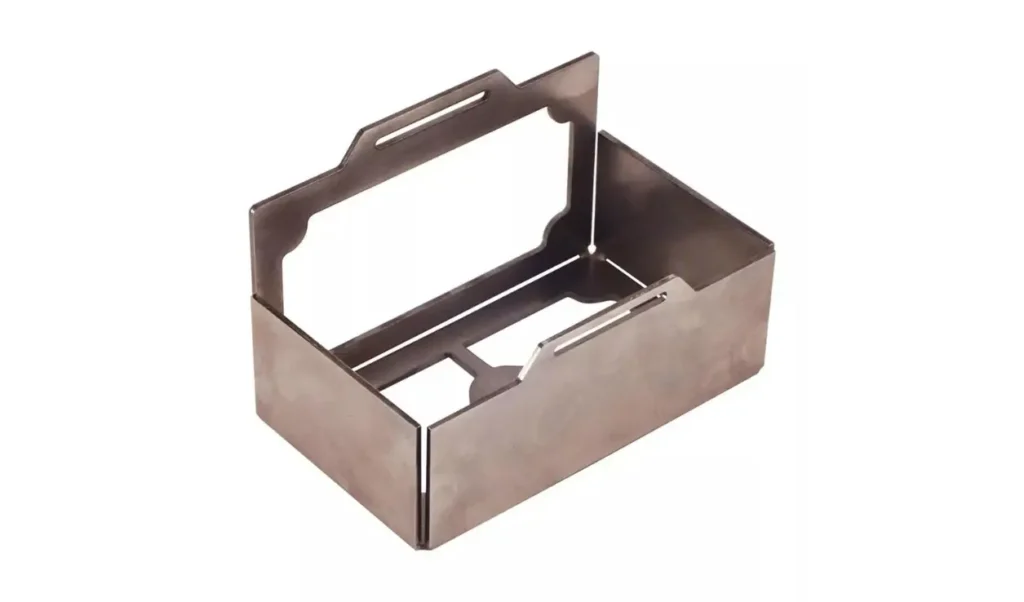
Chopper Battery Box:
Known for their sleek and modern designs, Choicecitymoto offers a range of battery boxes that are both functional and stylish. I have a few friends who swear by this brand.
CX500 Battery Box:
CX500 Battery Box specializes in lightweight, compact battery boxes that are perfect for cafe racers. I personally use an CX500 Box and it has never let me down.
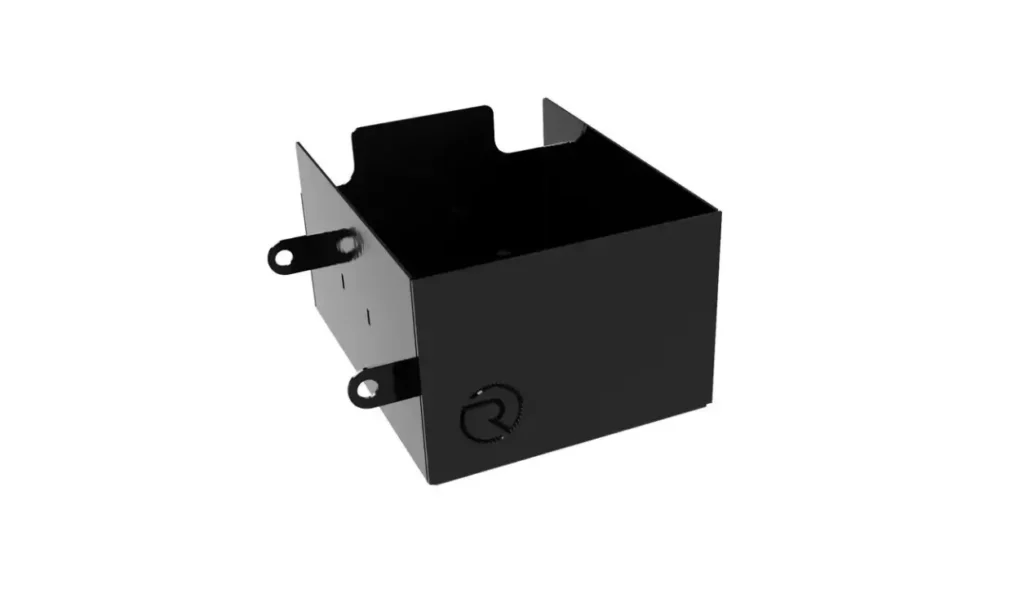
This is completely my personal suggestions, you can try other boxes in the market. Besides, you can make custom battery box.
Check our blog: [Tips Building Cafe Racer Custom Battery Box]
Budget Considerations
While it’s tempting to go for the cheapest option, remember that quality matters. A good battery box is an investment in your bike’s longevity and performance. Look for a balance between cost and quality, and don’t be afraid to spend a little more for a better product. I once tried to save money by buying a cheap box, and it ended up costing me more in the long run due to frequent replacements and repairs.
Preparing to Install Your Cafe Racer Battery Box
Tools and Materials Needed
Before you start, make sure you have all the necessary tools and materials. Here’s a comprehensive list:
- Tools:
- Screwdrivers (Phillips and flathead)
- Wrenches
- Pliers
- Wire cutters
- Electrical tape
- Drill (if necessary)
- Materials:
- New battery box
- Mounting hardware
- Battery terminal connectors
- Zip ties
Having all these tools ready before you start will save you a lot of time and frustration. I can’t tell you how many times I’ve had to stop mid-project to hunt for a missing tool.
Pre-Installation Checklist
Preparation is key to a successful installation. Here’s what you need to do:
- Check Compatibility:
- Double-check that the battery box is compatible with your bike model and battery size. I once bought a box that didn’t fit my bike at all—it was a complete waste of time and money.
- Prepare the Workspace:
- Ensure you have a clean, well-lit workspace with enough room to maneuver. I prefer working in my garage, where I have plenty of space and all my tools within reach.
- Remove the Old Battery Box:
- If you’re replacing an old battery box, remove it carefully, making sure to disconnect the battery terminals first. Take your time with this step to avoid damaging any wiring.
Step-by-Step Guide for Installing a Cafe Racer Battery Box
Removing the Old Battery Box
- Disconnect the Battery:
- Start by disconnecting the negative terminal, followed by the positive terminal. This prevents any accidental short circuits. I always make sure to wear gloves during this step to avoid any shocks.
- Remove Mounting Hardware:
- Use the appropriate tools to remove the screws or bolts holding the old battery box in place. Keep the hardware safe—you might need it for the new box.
- Remove the Old Box:
- Carefully take out the old battery box, making sure not to damage any wiring or components. Take note of how the old box was positioned; it might help with the new installation.
Installing the New Battery Box
Position the New Box:
Place the new battery box in the desired location, ensuring it aligns with the mounting points. Take your time to get the positioning right.
Secure the Box:
Use the provided mounting hardware to secure the battery box in place. Make sure it’s firmly attached and doesn’t move. I like to double-check all the screws to make sure they’re tight.
Insert the Battery:
Place the battery inside the new box, ensuring it fits snugly. A loose battery can cause all sorts of problems, so make sure it’s secure.
Connect the Battery Terminals:
Reconnect the battery terminals, starting with the positive terminal, followed by the negative terminal. Make sure the connections are tight and secure. I usually give them a gentle tug to ensure they’re not loose.
Final Adjustments and Checks
Secure Loose Wires:
Use zip ties to secure any loose wires and prevent them from getting tangled or damaged. This step is crucial for a clean, professional look.
Test the Battery:
Turn on your bike and check that the battery is functioning correctly. Look for any warning lights or issues. I always do a quick test ride to make sure everything is working as it should.
Double-Check Everything:
Give the battery box and surrounding area a final inspection to ensure everything is in place and secure. It’s always better to catch any issues now rather than later.
Post-Installation Tips
Maintaining Your Battery Box
Regular maintenance is crucial to keep your battery box in top condition:
- Regular Checks:
- Inspect the battery box and connections periodically to ensure everything is secure and free of damage. I usually do this once a month, especially after long rides.
- Cleaning:
- Clean the battery box regularly to prevent the buildup of dirt and debris. Use a damp cloth and mild soap if necessary. Keeping the box clean not only looks good but also helps prevent corrosion.
Troubleshooting Cafe Racer Battery Box Issues
If you encounter any issues, here are some common problems and solutions:
- Loose Connections:
- Check and tighten any loose connections to ensure the battery is receiving power. I always keep a small toolkit with me for quick fixes on the go.
- Battery Not Charging:
- Inspect the charging system and connections. If the problem persists, consult a professional. Sometimes, the issue might be with the charging system rather than the battery box.
- Unusual Noises:
- If you hear rattling or other unusual noises, check that the battery box is securely mounted and the battery is properly seated. I had a rattling issue once, and it turned out that a screw had come loose.
Upgrading and Customizing
As you become more experienced with cafe racer customization, you may want to upgrade or personalize your battery box:
- Future Upgrades:
- Consider upgrading to a higher-capacity battery or a more advanced battery box design. There are always new and improved products coming out, so keep an eye on the market.
- Personalization:
- Add custom touches, such as paint or decals, to make your battery box unique and reflective of your style. I recently added a custom paint job to mine, and it really stands out.
Conclusion
Choosing and installing a cafe racer battery box is an essential part of customizing your bike. By following this guide, you’ll be well-equipped to select the perfect battery box and install it with confidence. Remember, a well-chosen battery box not only protects your battery but also enhances the look and performance of your cafe racer.
I hope you found this guide helpful. If you have any questions or experiences to share, please leave a comment below. Happy riding!
Frequently Asked Questions (FAQ)
What is the best material for a cafe racer battery box?
The best material depends on your priorities. Metal is very durable but heavy, while plastic and fiberglass are lighter but may not be as tough.
How do I know if a battery box is compatible with my bike?
Check the dimensions and mounting points of the battery box against your bike’s specifications. Always double-check compatibility before purchasing.
Can I install a battery box myself, or should I hire a professional?
If you have basic mechanical skills and the right tools, you can install a battery box yourself by following a step-by-step guide. However, if you’re unsure, it’s best to consult a professional.
How often should I check my battery box for maintenance?
It’s a good idea to inspect your battery box and connections at least once a month, especially after long rides.
What should I do if my battery box makes unusual noises?
Check to ensure the battery box is securely mounted and the battery is properly seated. Tighten any loose screws or connections.


